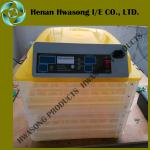
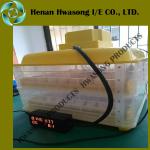
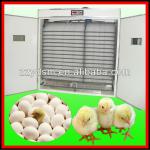
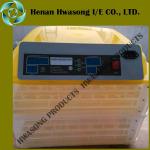
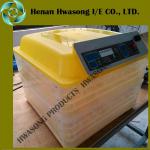
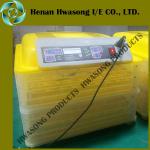
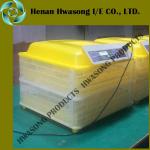
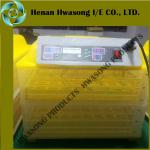
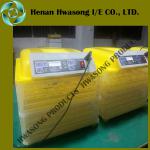
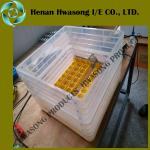
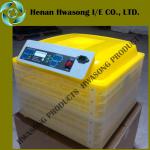
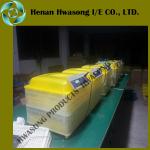
hatching and breeding eggs incubator
| Usage:Chicken,Bird,Ostrich,Turkey,Goose,Duck | Egg Capacity(pcs):48 | Condition:New | Place of Origin:Henan China (Mainland) |
| Brand Name:HWASONG | Model Number:HS8-48 | Voltage:110-240V | Power(W):80W |
| Dimension(L*W*H):55*29*53CM | Weight:5KG | Certification:CE | Warranty:One Year |
| After-sales Service Provided:No overseas service provided | Name:Chinese brand mini chicken eggs incubator | Capacity:48 chicken eggs | Color:Yellow |
| Operation:Automatic | Hatching Rate:More than 95% | Feature:Fully automatic and multifunction | Inner Packing:1set/colorful carton (53x29x50cm) 6kg |
| Outter Packing:2sets/master carton (60x55x53cm) 12kg | Life Span:8-10 years |
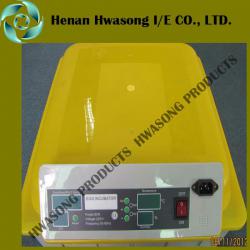
| Type | HS8-48 Mini Egg Incubator |
| Capacity | 48 chicken eggs |
| Useage | Chicken, Bird, Ostrich,Turkey, Goose, Duck |
| Power | 80W |
| Operating Voltage | 110-240V |
| Weight | 5KG |
| Dimension | 55*29*53cm |
| Inner Packing | 1set/colorful carton (53x29x50cm) 6kg |
| Outter Packing | 2sets/master carton (60x55x53cm) 12kg |
| Material | Plastic |
| Delivery Time | 3-5 working days after order |
| Hatching Rate | More than 95% high hatching rate |
| Temperature display range | 5—50°C |
| Temperature measurement control accuracy | ±0.1°C |
| Temperature control accuracy | ≤±0.1°C |
| Humidity dislay range | 0-99%RH |
| Humidity precision control | ±5%RH |
| Over egg cycle | 0.1--99.9hour(Factory settings 1.5hour) |
| Eggs over time | 1-255 seconds adjustable (factory set to 180 seconds) |
| Output current | Temperature Control 220V 10A, the other 200V 1A |
| Doubled the number of eggs | Maximum record 999 times |
| Operating voltage | 110-240V 50HZ |
| Hatching Rate | More than 95% high hatching rate |
| Ambient temperature | -10°C--40°C |
1. Test your incubator to see if it functions properly.
2.Connect the egg turner plug to the control plug inside the egg compartment.
3. Fill one or both water channels depending on local humidity levels.
4. Set the eggs with the pointy side down.
5. Close the lid and switch on the incubator.
6. Press the reset button (left green button) to reset and start the day counter from “0”.
(this will also rest the egg turning countdown back to 1:59)
7. Keep an eye on the humidity reading and fill the water channels when needed.
(normally every 4 days)
8. At day 18 you should remove the tray with the turning mechanism and place the
eggs on top of he bottom grid.
9. At the same time it is important to fill both water channels to increase the
humidity. (this is very important to ensure that the eggshells are soft enough for
the chicks to break through.)
10.You should never open the lid when the chicks start to hatch. If you do, the loss of
humidity will cause the eggshells of the unhatched eggs to dry out and they won’t
able to break through the egg .
Attention:
1. Testing your unit for the first time.
2. Setting the temperature.
3. Temperature alarm parameter settings (AL and AH)
4. Humidity alarm parameter settings (AS)
5. Calibrating temperature sensor reading (CA)
6. Temperature Upper and lower limit set (HS and LS)
7. Heating Element (HU and HD)
8. Display Symbols
9. Using your incubator
Any need and question, pls feel free to contact me!

| Packaging Detail:Wooden Carton,filling with Poly Foam |
| Delivery Detail:3-5 working days after order |


