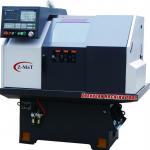
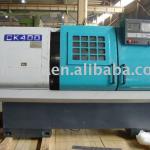
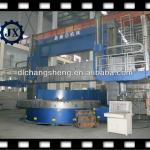
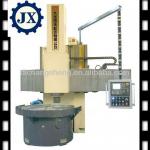
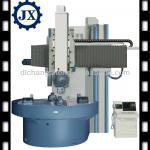
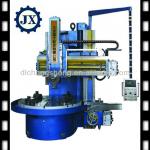
CNC Machine Tool integrated grinding and Hawking super finishing functions, get mirror surface Ra0.1
| Condition:New | Type:Horizontal | CNC or Not:CNC | Automatic Grade:Automatic |
| Max. Swing Diameter:600mm | Place of Origin:Shandong China (Mainland) | Brand Name:Huawin | Model Number:HYCMH |
| Voltage:380V or 415V | Power(W):15KW | Dimension(L*W*H):6700*5000*2800mm | Weight:18 Tons |
| Certification:CE | After-sales Service Provided:Engineers available to service machinery overseas | Guarantee:12 months | Brand:Huawin |
| Origin:Jinan, China | Function:Pricise turning and Hawking mirror finishing | Use:Surface finishing for Metal Shaft, cylinder, Thrust runner collar | Advantage:Increase Fatigue life time for long time using |
| Advantage2:increase surface roughness, up to Ra0.2 | Advantage3:Increase micro hardness, reduce micro defect of metal surface | Advantage4:replace traditional polishing, increase processing efficiency 8 times | CNC:CNC control |
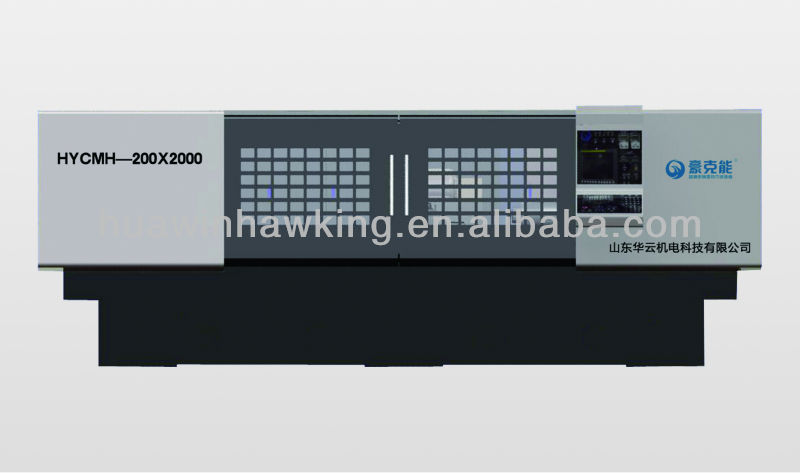
CNC machine tool for surface finishing of metal shaft, thrust runner collar and other metal surface
1. Integrated with precise turning, cylindrical grinding and HawkingPT mirror finishing.
2. Work out spherical work piece with mirror level only after loading once, surface roughness less than or equal to Ra0.2µm.
3. It can strengthen surface of metal work piece, preset compression stress and raise micro-hardness, wear-resistance, anti-corrosion, fatigue lifetime, eliminate micro-defect.
4. Can choose either hydraulic self-centering float clamping and hydraulic tighten function, especially suitable for slim & long spindle and thin-wall work-piece of weak rigid.
Major featureof Compound machine tools:
1.The machine can grind conical surface by changing angle degree of worktable. It can be done with precision cutting and HawkingPT super finishing processing to conical, arc, and curved surface by feeding in X & Z direction.
2. Tool bed is made of whole manmade marble, which has good vibration absorption and rigidness with small thermal deformation.
3. Longitudinal direction (Z) guide rail is planet V-shape static guide rail, scrapping manually. Transversal (X) direction adopts high precision and imported double V-shape roller guide rail. So the guide rail has good precision and guiding. X and Z guide rails adopt servo motor and driven by THK ball screw imported by Japan with high location precision.
4. Grinding carriage is like structure of grinding head on normal grinding machine. Grinding axes is supported by an imported and precise centering pushing ball bearing. Headstock is built by an imported and precise main spindle unit. Grinding carriage and headstock are both driven by frequency conversion motor to get Supered speed-regulating.
5. It is controlled by FANUC 0i-TD CNC system.
Major precision index:
1. Location precision: X and Z axles are 0.004/0.006mm;Relocation precision of X and Z axes are 0.002/0.003mm.
2. Roughness of work piece surface is Ra≤0.2µm.
3. Roundness is 0.002mm.
4. Size precision: IT5.
5. Straightness:0.005mm,using test bar of Φ90×1000mm.
Main specification and parameter of of Compound machine tools:
Specification | Unit | Parameter | ||
Main technical parameter | Distance between two centers | mm | 2010 | |
Grinding length | mm | 500-2000 | ||
Height of center | mm | 105 | ||
Weight of work piece loading on two centers | Kg | 200 | ||
Power | V/Hz | 380V/50Hz | ||
Power need | A | 75 | ||
Room for set-up / L W H | mm | 6700×5000×2800 | ||
Weight | Kg | 18000 | ||
Vertical guide rail | Stroke | mm | 2200 | |
Quick Travel Speed | m/min | 20 | ||
Resolution | µm | 1 | ||
Torque of Servo motor | Nm | 22 | ||
Horizontal guide rail | Stroke | mm | 310 | |
Quick Travel Speed | m/min | 10 | ||
Resolution | µm | 0.5 | ||
Torque of Servo motor | Nm | 12 | ||
Grinding carriage | Motor power | Kw | 11 | |
Line speed | m/s | 50 | ||
Diameter of grinding wheel | Max. | mm | 600×60×203 | |
| Min. | mm | 470×60×203 | ||
Width of grinding wheel | mm | 60-80 | ||
Headstock | Rotation speed | rpm | 50-1200 alternating frequency speed-regulating | |
Power | kw | 2.2 | ||
Inner-cone of main spindle | No.70 | |||
Tailstock | Inner-cone | Mohs | No.5 | |
Stroke of sleeve | mm | 60 | ||
| CNC control system | FANUC 0i-TD | |||
| Testing device | Axial location of work piece | T18 | ||
| Balance device | Balance support | |||
HawkingPT | Line speed | m/min | 80 | |
Roughness (Ra) | µm | 0.2 | ||
| Packaging Detail:Wooden case |
| Delivery Detail:Within 2 months after get advance payment |


